
Press-On Nails: How to Apply Them and Make Them Last
Press-on nails are the quickest way to a finished manicure without a salon visit. The nails come ready-shaped and ready-coloured, and the whole job is sizing them, preparing the natural nail, and sticking them on. Done well, they look like a salon set. Done in a rush, they lift at the edges and pop off at the worst moment — usually because the prep step was skipped, not because the nails themselves are bad.
This guide covers how to apply press on nails step by step, what you need before you start, how to choose between glue and adhesive tabs, how to pick the right length and size, how to make a set stay put, and how to take them off again without damaging your natural nails.
Table of Contents
What Are Press-On Nails?
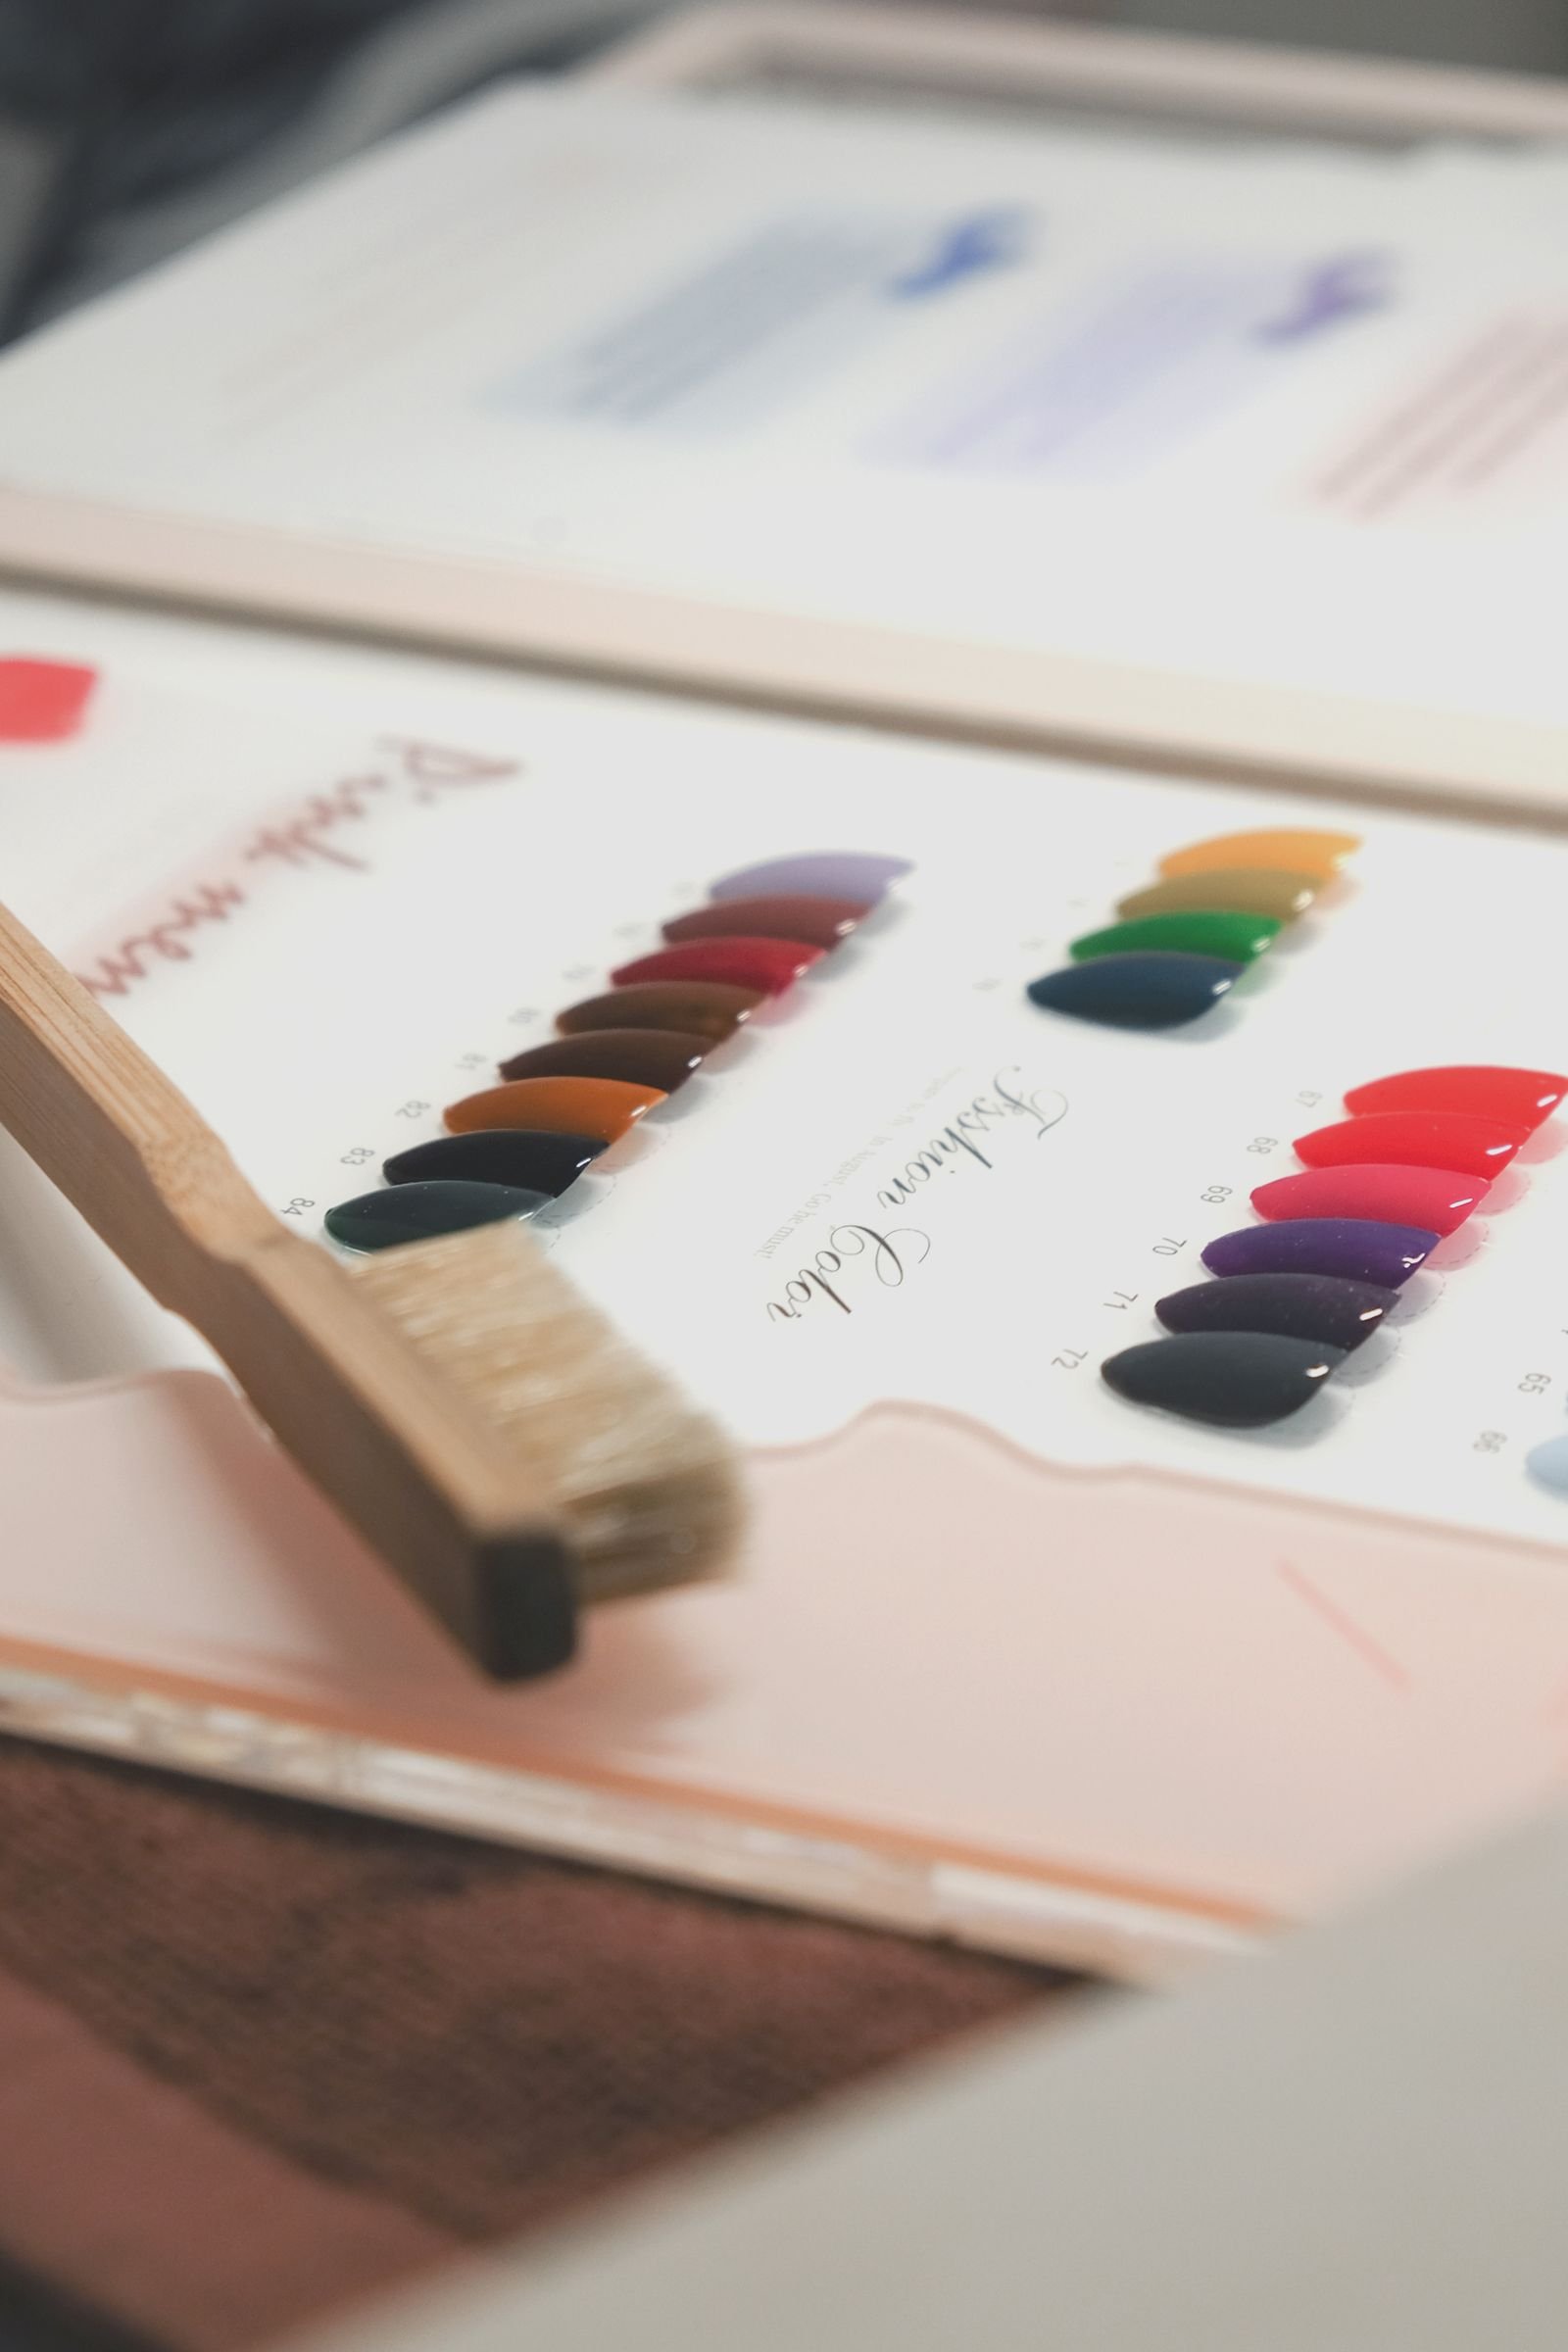
Press-on nails are pre-shaped false nails, usually made from a soft gel or an acrylic-style plastic, that stick to the natural nail with glue or adhesive tabs. They come in set lengths — extra short, short, medium and long — and in shapes like oval, square, almond and coffin, so you pick the shape and length the same way you would pick a salon style. Some sets are plain colours, some are French tips, and some are handmade or custom designs made to order.
They are not the same as Gel-X or builder gel, which are applied and cured as part of a gel service. If you are deciding between them, the Gel-X nails guide explains what Gel-X is and how it is applied, and the builder gel vs Gel-X comparison sets out the differences between the two gel options. Press-ons are the simplest of the three: no curing, no salon equipment, and you can take them off at home. That simplicity is why so many people look up how to apply press on nails before buying a first set.
What You Need Before You Start
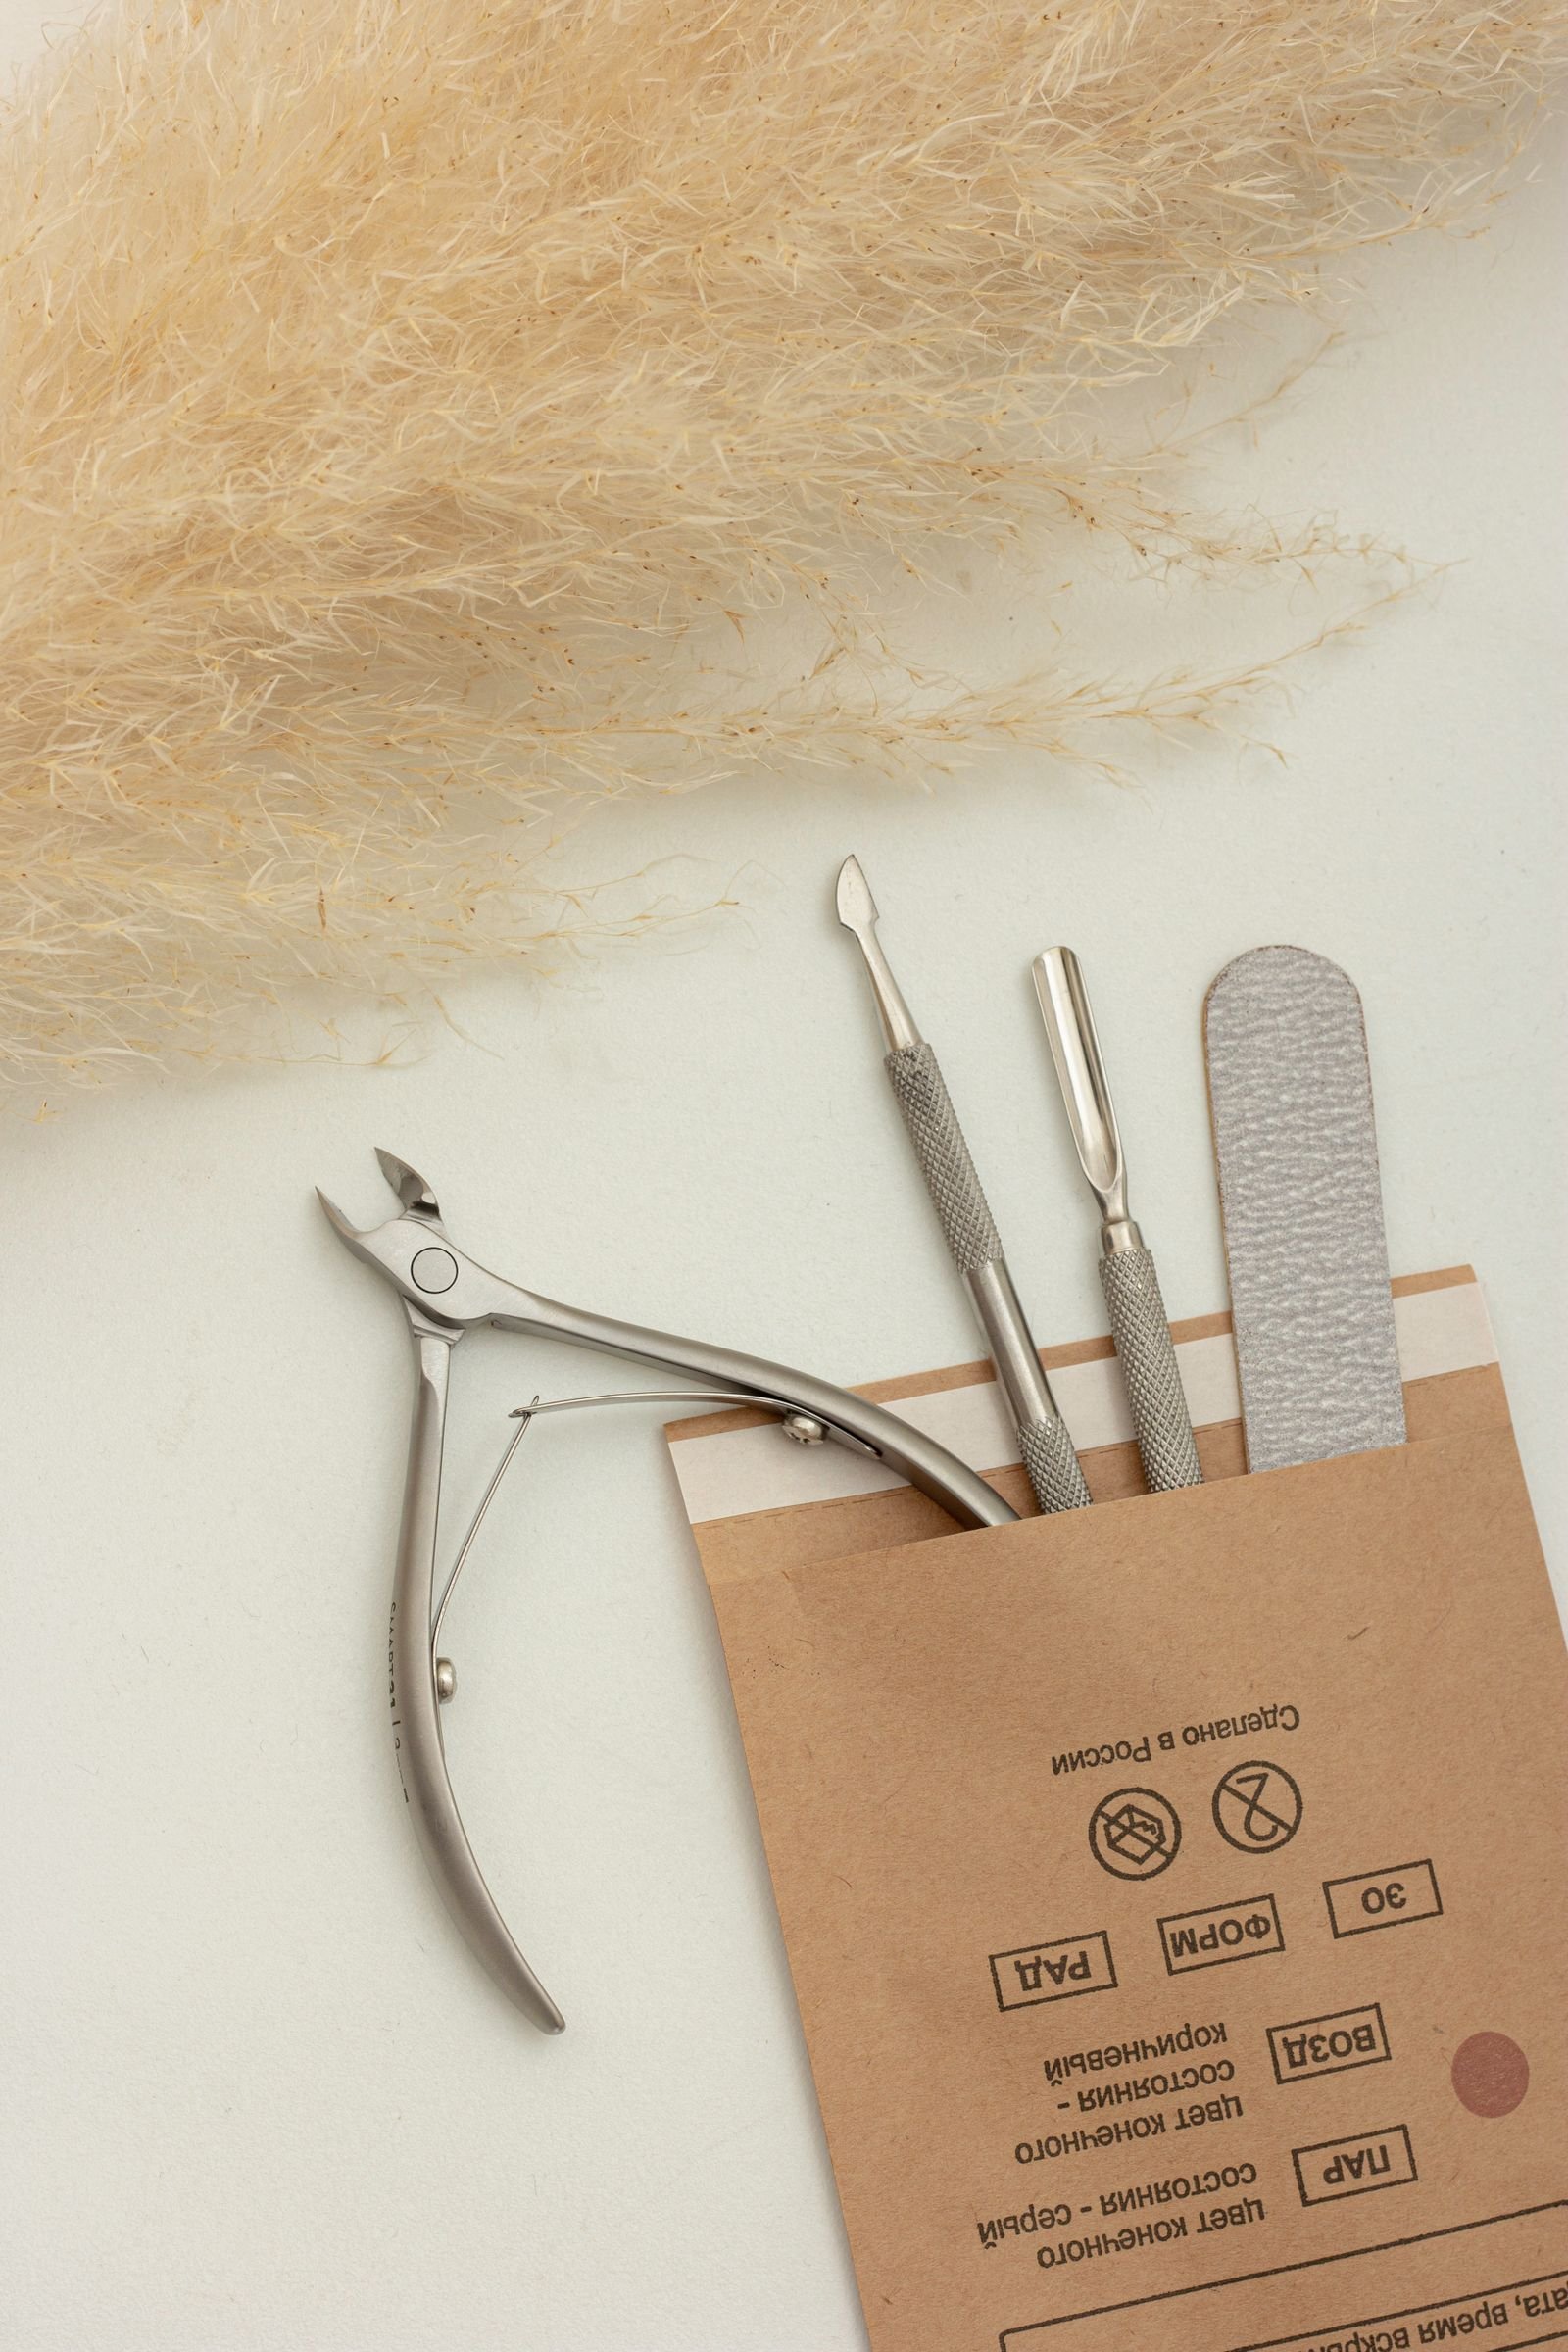
You do not need much to learn how to apply press on nails at home, and most of it comes in the kit. A typical press-on kit holds the nails themselves, a small tube of glue or a sheet of adhesive tabs, a mini file, and sometimes a buffer and a cuticle stick. If your kit does not include them, gather these before you start:
- The press-on set, with all sizes laid out
- Nail glue, or adhesive tabs if you prefer a no-glue option
- A nail file, for shaping the natural nail and the press-on edge
- A buffer, for lightly roughing the surface of the natural nail
- A cuticle stick, for pushing cuticles back and for removal later
- Soap and water, or an alcohol wipe, for cleaning the nail surface
- A towel, and good light so you can see the sizing clearly
Do the sizing first, before any glue is involved. Lay the press-ons out in order, match each one to a finger, and set aside any that are too wide or too narrow. A nail that is slightly too small is better than one that overlaps the skin, because glue on skin is what causes lifting at the edges.
How to Apply Press on Nails, Step by Step
The steps below show how to apply press on nails from sizing to the final press, and they work the same whether you use glue or adhesive tabs. Take your time on the first two steps — sizing and prep are where a good application is decided, and they are the steps people skip when they are in a hurry.
Step 1 — Size every nail. Hold each press-on against its finger and check the fit. It should cover the natural nail from side to side without touching the skin at the edges. If a size falls between two fingers, file the sides of the larger one lightly until it fits. Write the sizes down or lay them out in order, so you are not hunting for the right nail with glue on your fingers.
Step 2 — Prep the natural nail. Push the cuticles back gently with the cuticle stick, then file the natural nail to the shape you want and buff the surface lightly. Buffing matters more than people think — it gives the glue something to grip, which is why “why buff nails before press ons” is one of the most searched questions about them. Buff lightly, just enough to take the shine off, and do not file into the nail itself. Then wash your hands with soap and water, or wipe each nail with an alcohol wipe, and let them dry fully. Glue does not hold on oily or damp nails.
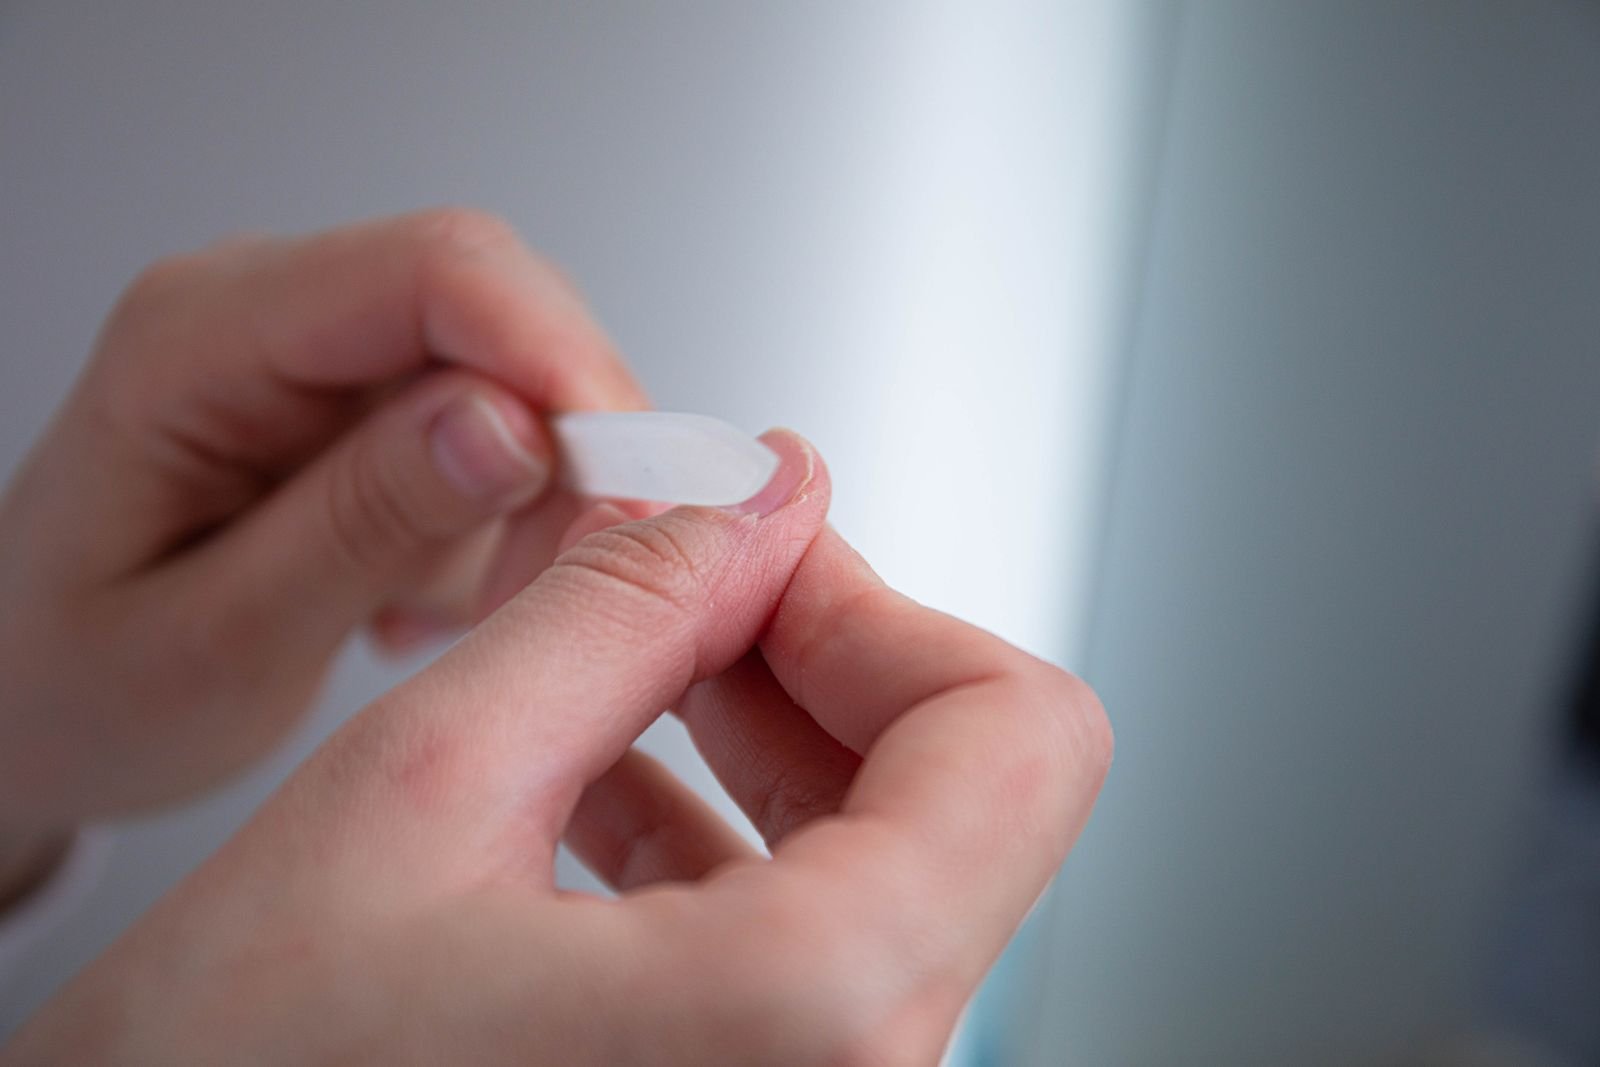
Step 3 — Apply the glue or the tabs. For glue, put a small drop on the natural nail and a thin layer on the back of the press-on, and spread it evenly — too much glue squeezes out at the edges, too little leaves gaps. For adhesive tabs, stick one tab to the natural nail, peel the backing off, and line the press-on up over it. Tabs hold less strongly than glue, which makes them the better choice if you only want the set for a day or two, and the worse choice if you want it to stay put.
Step 4 — Press and hold. Place the press-on at the cuticle end first, then lower it down toward the tip so no air gets trapped underneath. Press it down firmly and hold it in place for a few moments until it feels seated, pressing from the centre out toward the edges. If glue squeezes out, wipe it away straight away with a dry cloth before it sets.
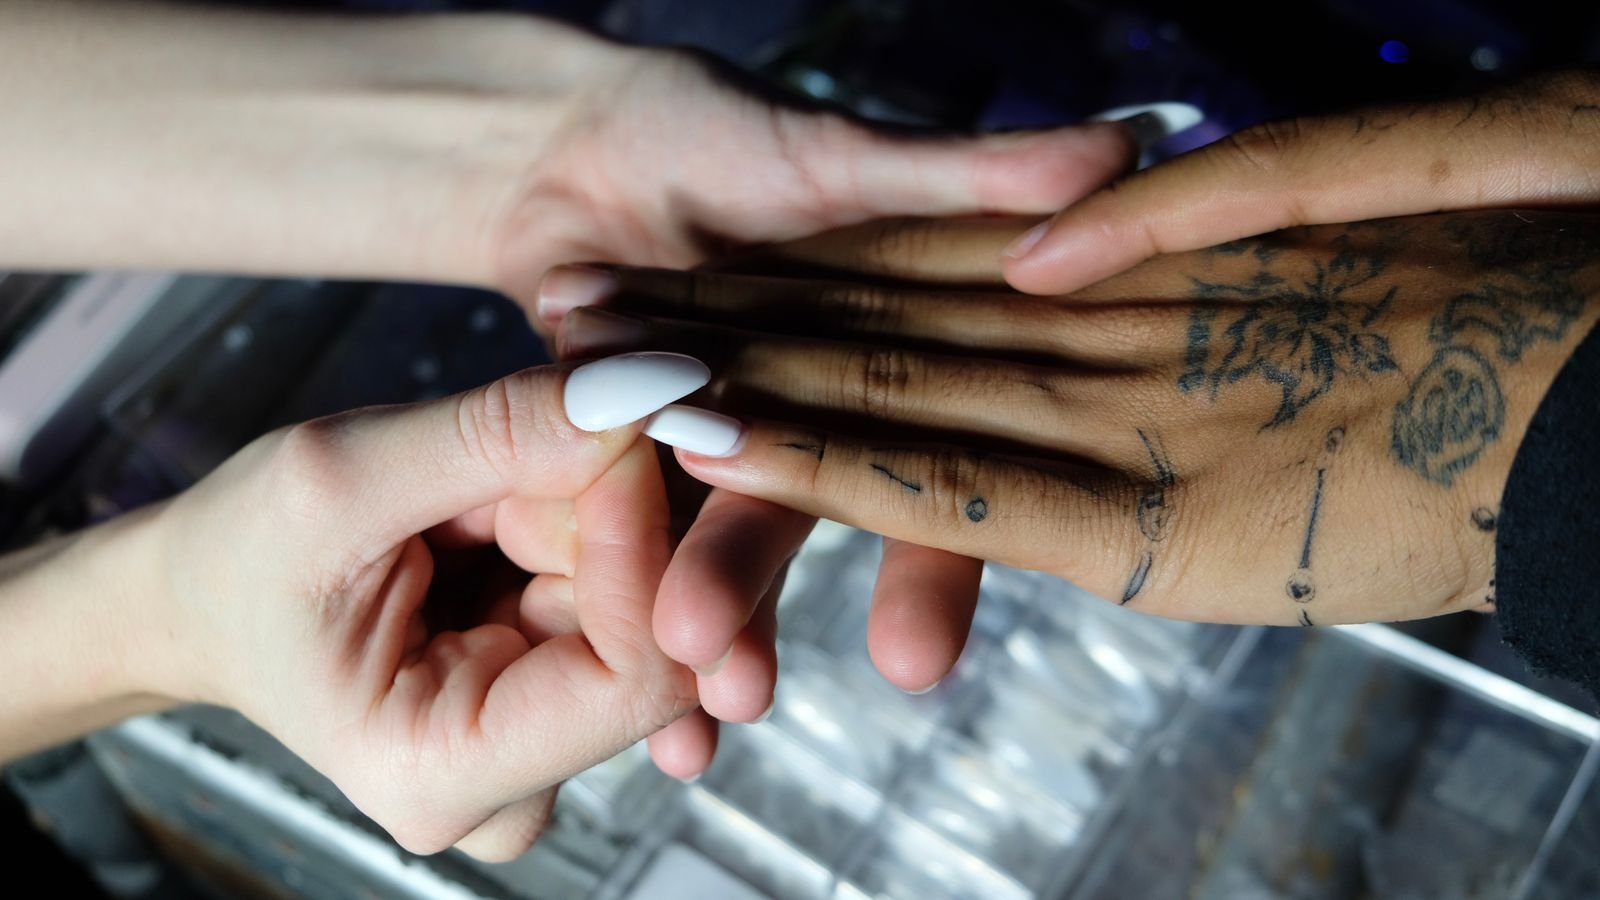
Step 5 — Shape and tidy the edges. Once all ten are on, file the tips lightly if the length or shape needs adjusting, and file the sides if any edge catches on fabric. Press-ons file easily, so use light strokes and check often — you can always file more, but you cannot put length back.
Step 6 — Check the fit. Look at each nail from the side and from the tip. The press-on should sit flat against the natural nail with no gap at the cuticle and no lifting at the edges. If one edge is lifting, press it down again and hold it; if it keeps lifting, take that nail off, clean the glue away, and redo it rather than adding more glue on top.
Choosing Glue and Adhesive Tabs
Glue choice is the part of how to apply press on nails that people rush, and it is the part that decides whether the set stays on. There are two main options, and neither needs a brand name to choose well — what matters is the type.
Brush-on glue comes with a small brush in the bottle, like nail polish, and gives a thin, even layer. It is the easiest to control, and the best choice if you are new to press-ons, because you can see exactly how much you are putting on.
Glue with a precision nozzle comes in a small tube with a narrow tip, and it gives a thicker drop in one place. It suits people who want a stronger hold, but it is easier to use too much, so start with a small drop and add more only if you need it.
If you are searching for the best nail glue for press on nails, the honest answer is that the best glue is the one that matches how long you want the set to stay on and how easily you want it to come off — a stronger glue holds better and takes more effort to remove, while a lighter glue or adhesive tabs come off easily but hold for less time. There is no single glue that is best for everyone, so pick by type and by how long you want the set, not by a brand name.
Adhesive tabs are double-sided stickers that hold the press-on without any glue at all. They are the answer to no-glue press-on nails: no mess, no drying time, and the press-ons come off cleanly. They hold less strongly than glue, so they suit short-term wear — a weekend, an event, a trial run of a shape you have not tried before. Tabs are also a good way to practise how to apply press on nails without committing to glue.
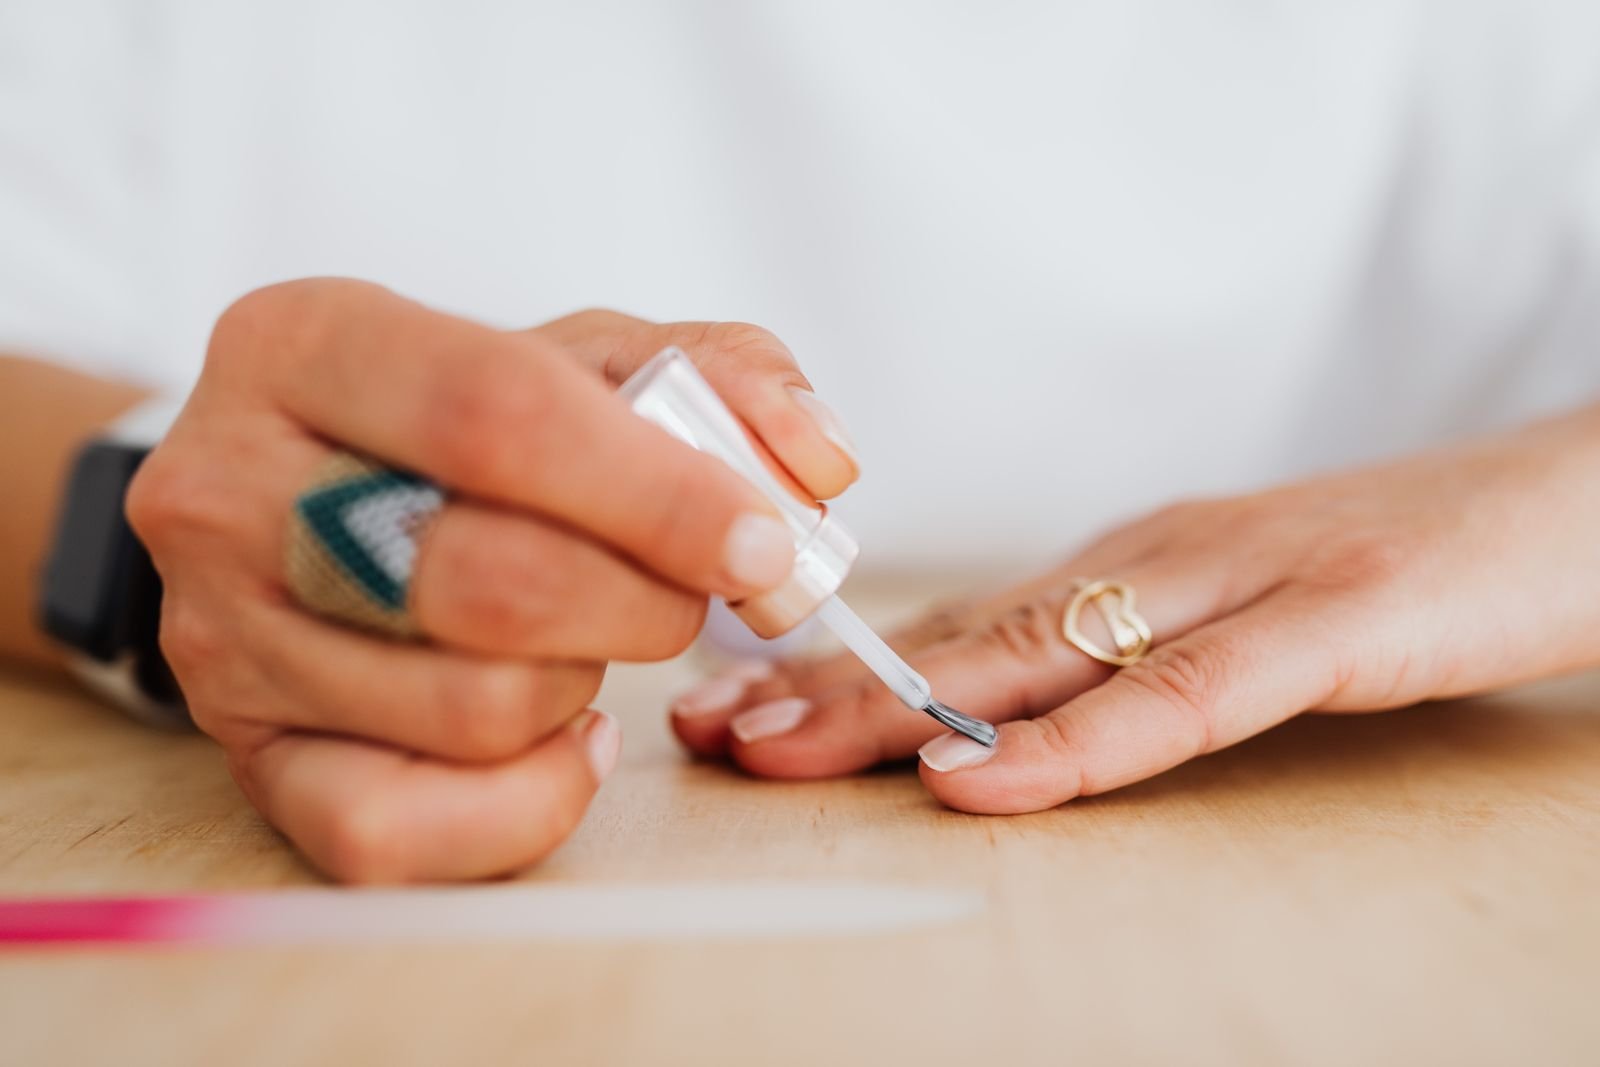
Short Press On Nails and Other Lengths
Short press on nails are the most searched length, and for good reason: they are the easiest to live with. Short and extra short sets suit typing, cooking, and work with your hands, and they are the least likely to catch on things and lift. Long sets look dramatic, but they ask more of the glue and more of you, because every knock goes straight to the edge of the nail. For a first try at how to apply press on nails, short is the safest length.
Length is only half the question — fit matters just as much. Press-on nails for wide nail beds need a set with wider sizes included, and a press-on nail size kit, which is a set of blank nails in every size for measuring, helps if you keep buying sets that do not fit. If your nails are narrow, file the sides of the press-on lightly rather than forcing a wide nail on. Shapes follow the same rule: coffin and long almond shapes need more length to look right, while oval and short square shapes work at any length.

How Long Do Press On Nails Last
How long a set stays on starts with how to apply press on nails properly in the first place, and there is no single number that fits everyone. The same set can stay put for one person and lift quickly for another, because it depends on the prep, the fit, the glue or tabs used, and how the hands are used day to day.
The factors that help a set stay on are the ones in the steps above: a clean, dry, lightly buffed nail; a press-on that fits edge to edge without touching the skin; glue spread evenly with no air trapped underneath; and hands kept dry for a while after applying, so the glue can set properly. The factors that work against it are water, heat, and using the nails as tools — opening cans, scraping labels, picking at things. None of that is a flaw in the nails themselves; it is the difference between a set that is looked after and one that is not.
How to Make Press On Nails Last
The best way to make a set last is to follow how to apply press on nails properly the first time, because most of the tips below are really about not undoing a good application.
- Prep properly, every time. The buffing and cleaning in step 2 is not optional — it is the grip the glue holds onto.
- Pick the right size. A nail that fits edge to edge without touching skin holds better than one that overlaps, because glue on skin lifts first.
- Use enough glue, not too much. A thin, even layer holds better than a thick one, which squeezes out and leaves gaps.
- Keep hands dry after applying. Give the glue time to set before washing dishes, showering, or soaking your hands.
- Do not use your nails as tools. Open things with your fingertips, not the nail edge, and do not pick at a lifting corner — pressing it back down and holding it is better than pulling at it.
- Carry a spare. Keep one spare nail and a little glue with you, so a nail that pops off can be fixed straight away instead of leaving a gap.
- Reuse them when you can. Reusable press on nails can be worn again if they come off cleanly: soak off the old glue, clean the back of the nail, and apply them again with fresh glue or tabs. Gentle removal, in the section below, is what makes reuse possible.

How to Remove Press On Nails
Once you know how to apply press on nails, removal is the other half of the routine, and it is the half that protects your natural nails. Never rip a press-on off — that pulls up thin layers of the natural nail with it, and leaves the nail weak and flaky.
Soak them off. Soak your fingertips in a bowl of warm water with a squirt of dish soap, and wait until the edges start to lift on their own. Then ease the nail off gently with a cuticle stick, working from one side to the other. If a nail resists, soak it longer rather than forcing it — the same question, how to take off press on nails, has the same answer as how to remove press on nails, and in both cases patience is what keeps the natural nail intact.
Deal with the glue left behind. A little glue usually stays on the natural nail after the press-on comes off. Soak it again in warm soapy water and roll it off gently with your fingertip or a soft buffer, or work a little cuticle oil into it and ease it away. That is also how to remove press on nail glue in general — soaking and gentle rolling, not scraping with a metal tool.
Rest and moisturise. Once the nails are off, wash your hands, rub cuticle oil or hand cream into the nails and the skin around them, and give your natural nails a break before the next set if they feel thin or sore.

Colours and Designs Worth Trying
Press-ons come in every colour and design, and the best first set is usually a colour you already wear. Black press on nails are the boldest choice, and the black nails post has the full range of black ideas, from classic gloss to matte and chrome, if you want to see the colour family before you buy a set. Red and pink are the safest first picks, because they suit most skin tones and most occasions, and a French tip set is the most wearable design of all — white tips on a nude base, with no art to chip. A plain colour is also a forgiving first choice when you are learning how to apply press on nails.
Handmade and custom press-on nails are worth knowing about if you want a design that is not sold in standard sets: they are made to order, usually in your sizes, and they cost more than a standard set because someone is making them by hand. For a first set, a standard short or medium set in a colour you like is the better starting point — you can try a custom design once you know which shape and length suit you.

Frequently Asked Questions
Can I put press-on nails on without glue?
Yes — adhesive tabs hold press-ons without any glue. They are the no-glue option, and they suit short-term wear, like a weekend or an event. They hold less strongly than glue, so they are not the best choice if you want the set to stay put.
Can I reuse press-on nails?
Yes, if they come off cleanly. Soak them off gently, clean the old glue from the back of the nail, and apply them again with fresh glue or tabs. Nails that were ripped off, cracked, or bent usually cannot be reused.
Do press-on nails damage your natural nails?
The nails themselves do not, but rough removal does. Ripping them off pulls up thin layers of the natural nail, while soaking them off and easing them away leaves the nail intact. If your nails feel thin after a set, it is usually the removal, not the press-ons.
What should I do if a nail pops off?
Clean the natural nail and the back of the press-on, then reapply it with a little fresh glue or a new tab. If the same nail keeps popping off, check the size — it may be too wide or too narrow for that finger, and a better-fitting size will hold better. Getting the size right is a big part of how to apply press on nails so a set stays on.
Can I wear press-on nails on my toes?
Yes — press-on toenails are made for that, and they are usually shorter and wider than fingernail sets. The same rules apply: size them first, clean the nail, and use glue or tabs. They are a useful option for holidays or events where you want matching toes.
The Short Version
Learning how to apply press on nails comes down to three habits: size every nail before any glue is involved, prep the natural nail properly, and press each nail on firmly with no air trapped underneath. Get those three right, choose glue or tabs by how long you want the set, and take them off by soaking rather than ripping — and the next set will go on to healthy nails instead of damaged ones.